Monday, 22 October 2012

Birthday Card

This is the Birthday Card I made for my Mum.
I used three techniques to make it, stamping, embossing and punches.
To start with I embossed white card with the cuttlebug swiss dots folder, next I used stampin' ups mini embossing folder for the oval centre, which I then cut out by hand. To finish the centre I stamped 'especially for you' and used stampin' ups large oval to punch it out.
The flowers are from a stamp set I use a lot, if you look back on my blog you can find other things I have embellished using the vintage vogue stamp set. I stamped the leaves directly onto the embossed white card. I then stamped the leaves and flowers onto scrap white card and cut them out, I used pink DI and touched the edge of the stamps with a brown DI.
To put the card together I matted the white card onto pink then attached it to a card blank.
The sentiment and flowers were attached using foam pads. To finish the card I put the ribbon on the left hand side and  pearls in the flower centres


Hope you like the card, my Mum did.

Sunday, 14 October 2012

Bat time.


After spending the week looking I have at last found my piece of paper with the web address for the original Bat template that gave me the idea for the class.
The instructions and other idea's appear in a magazine called Woman's Day Specials, if you google womanaday.com/special it should come up.
I hope you have as much fun as I did making the bat.
We plan to hang them up on our beam in the living room.

Sunday, 7 October 2012

Halloween Bat

This is the class for Craftbuddies crop on 13th Oct at Tithe Barn, I wanted to do something for Halloween that could be a card or a gift.
The original idea came from a magazine site in Australia, I have written the web address down and put it somewhere very safe so I can credit the original maker, but at the moment somewhere safe is too safe!!!
As soon as I find it I will post the address here.
 
All bats hang upside down!!!
But watch out you don't lose the chocolate bar!!!


Here he is the right way up.


Sunday, 30 September 2012

Thank You Cards

I wanted to share the Thank You cards I made and sent to my family after our suprise party.
I love dragonflies and as they were on our anniversary cake it seemed fitting to have them on the Thank You cards too.
 I stamped the flourishes first in silver, then the 'thank you', I found it best to leave the cards over night  to let the ink set and dry.
Next I used 'indigo blu's' flitter glue to ink up my dragonfly stamp, I stamped 10 cards at a time before adding indigo blu mega flakes to the stamped image and rubbing the excess off and polishing the image. The flakes I used are called Yorkshire Dale.
.
I then matted this onto silver mirri board and attached to  a card. Finally I added gems and stickles to the card this also covered up any odd bits of ink on the black card.

Wednesday, 26 September 2012

Chocolate Pencils

The children have now been back at school for three weeks, so I thought I would show you these pencils I made during the holidays using Rolo's and Hershy's Kisses, I saw the idea on a blog called 'inking idaho'.

 I cut yellow card the length of a pack of Rolo's and wide enough to go round with a spare bit for the double sided tape, then I scored long ways every 1/4 inch. I put red tape along the spare bit of card and wrapped the whole thing around the Rolo's. the 'rubber' is made with pink and silver card just wrapped around the top of the pencil and attached with red tape.
The pencil point is the Hershy's Kiss, stuck on with a glue dot, at the time I made these Asda had lots of American sweets on offer, so it worked out that I paid £1.50 for a pack of about 25 Kisses. Apparently the 99p Stores sometimes have the Kisses but not when I looked!!!
As you can also see I made a pencil from a tube of smarties as well, but I think the Rolo's work best.
Next time I make some of these I might add black lines down the pencils, just like the ones we have in our school.

Friday, 21 September 2012

Cup Cake Cards

I like to make use of all my scrap card and paper so sometimes have a splurge on making cards just from these scraps.
These cup cakes are both good for the waist and the purse!!!!!!
I have put mine onto 3"x3" cards but they are fantastic toppers for bigger cards or gift tags.
A sentiment can be added later.

The stickles glitter adds dimension to the cup cakes, dimension can also be added by using foam tape to layer up the toppings, but unfortunately if the finished cup cake is too thick it will cost more to post.

Sunday, 16 September 2012

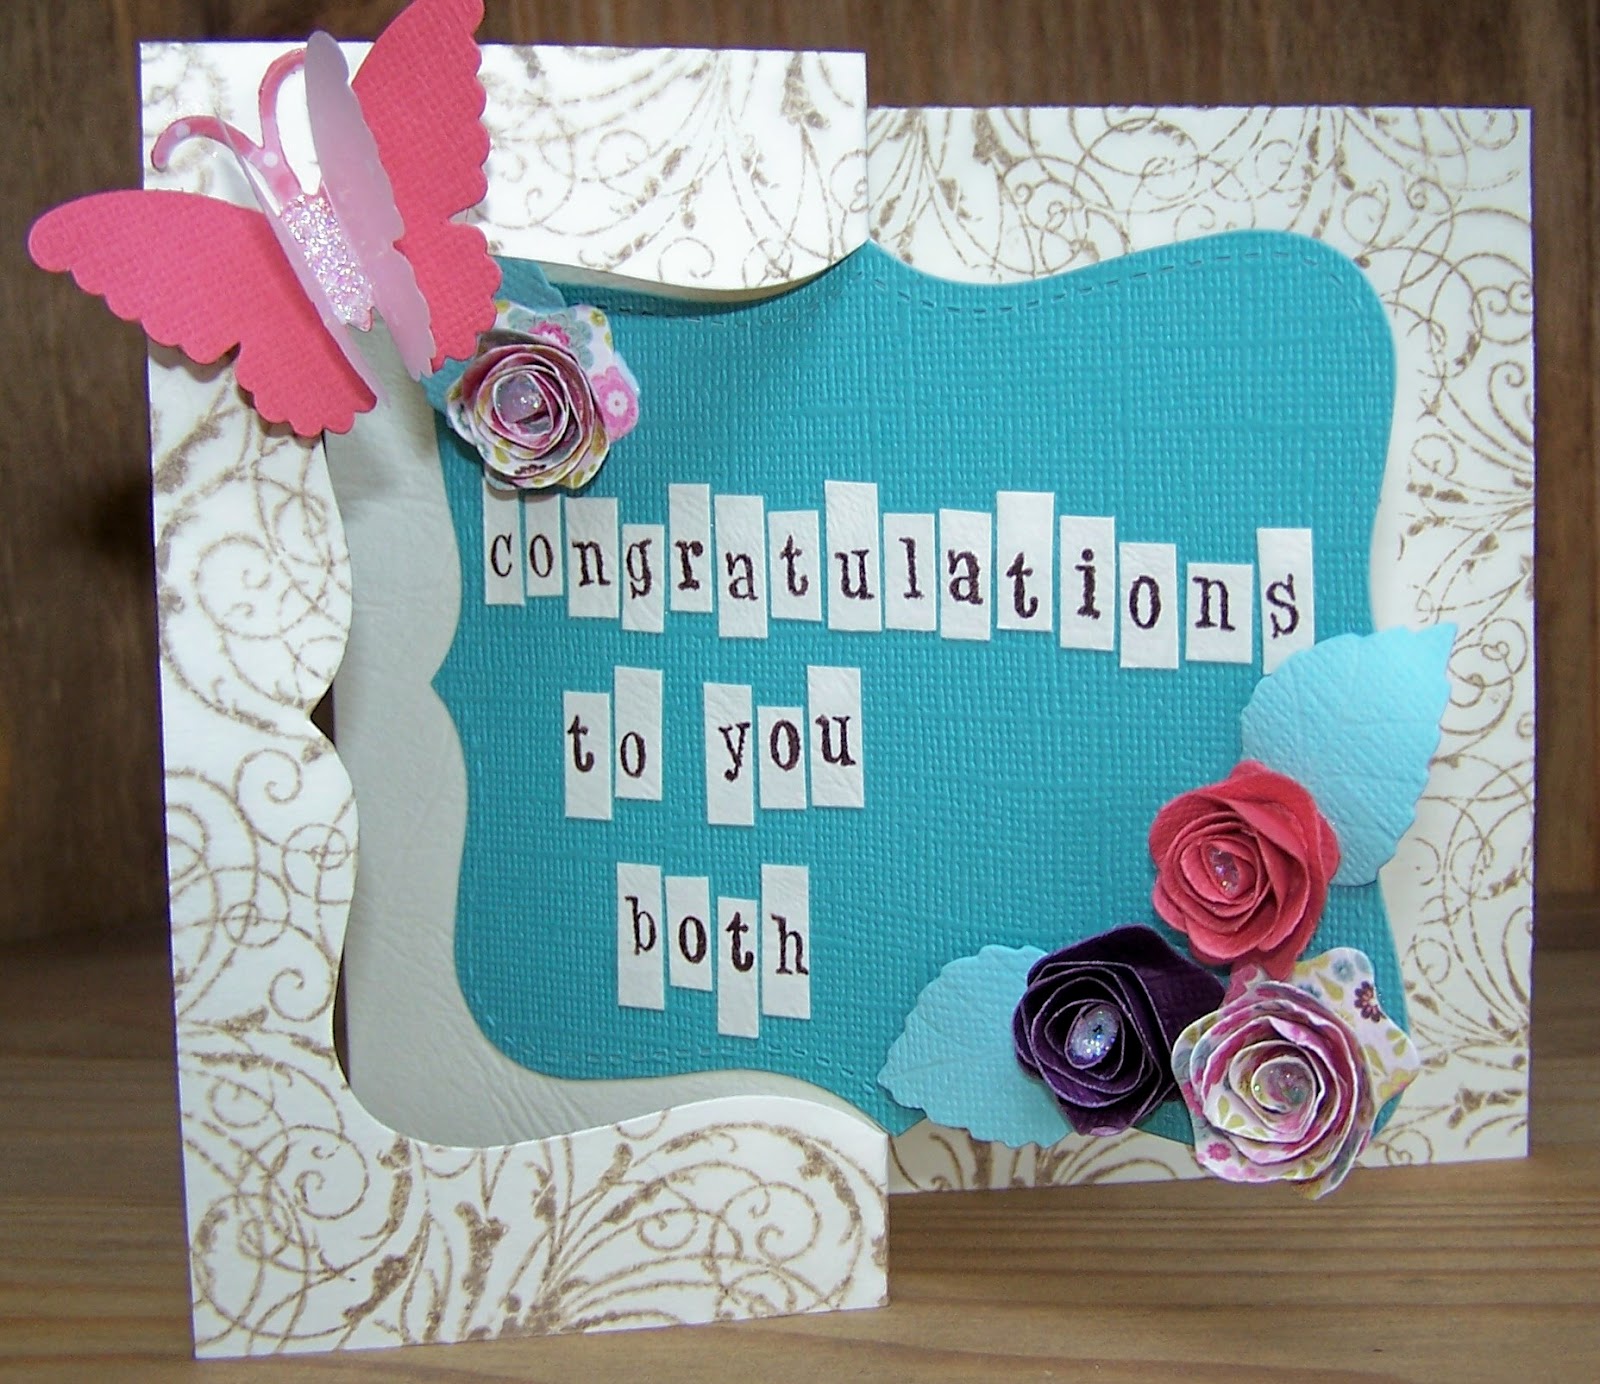
Congratulations Card

My closest, I'm not allowed to say oldest, but she is, friend recently got engaged. She rang me one evening to tell me then came round for coffee the next morning so I did not have long to make the happy couple a card.
I used my big shot and the stampin up die to make the card base, it's easier than it looks, just google it.
I used colours that I know my friend loves.
When I had put the card together it looked bare on the front, that was when I decided to stamp flourishes all over, the effect made the card look quite different.
Also I knew I had some teeny tiny alphabet stickers somewhere but could I find them when I wanted them, so I stamped the letters then cut them into the size etc that I wanted.
My friend loved the card.
The stickers magically turned up just after she left, exactly where they should have been but weren't