Showing posts with label Box and Card. Show all posts

Friday, 8 November 2013

Criss Cross Card Box

I made a set of four cards with some paper I found at the bottom of all my papers.
I matched coloured card to the paper, used stampin up's small butterfly die to cut three butterflies, stamped the celebrate word in a soft brown then added the lace trim.
Once I had made the cards I decided that I needed a holder for them to go in!!
So I made a criss cross box holder or a wrap over holder, different people call it different names. To finish the box off I made a slide on wrap decorated with butterflies.
I thought it turned out okay!!

Friday, 18 October 2013

TMNT Card

My son Adam is still mad about TMNT, he's 17 years old!! but they must be the Turtles he used to watch when he was little.
This is one of the cards I made for his birthday, I made two because I could, but also I wasn't sure which one I liked best.
The card is made by piecing card together to make the picture.
  The happy birthday background is a large stamp I have had forever.
 As the card I made was of the Turtles on a pizza I then decided to make a pizza box to put one of his gifts in. The image on the box is one I printed out from google, what would we do without it?

Tuesday, 10 September 2013

Tithe Barn Class

Here is the class for Saturday 14th Sept at Tithe Barn.
We will be making both the card and the mini box.
If you wish to join me please let Karen know at www.craftbuddiespapercrafts.co.uk

Saturday, 16 March 2013

Sue's Box


 Just after Christmas a lovely lady called Sue gave me a box to look at that she had, she wondered if I would be able to make one like it, as the one she had was a factory made one, so better late than never are my instructions on how to make Sue's box.
It is big enough to hold five 3"x 3" cards, or an edible goody, I'm thinking chocolate would be good.
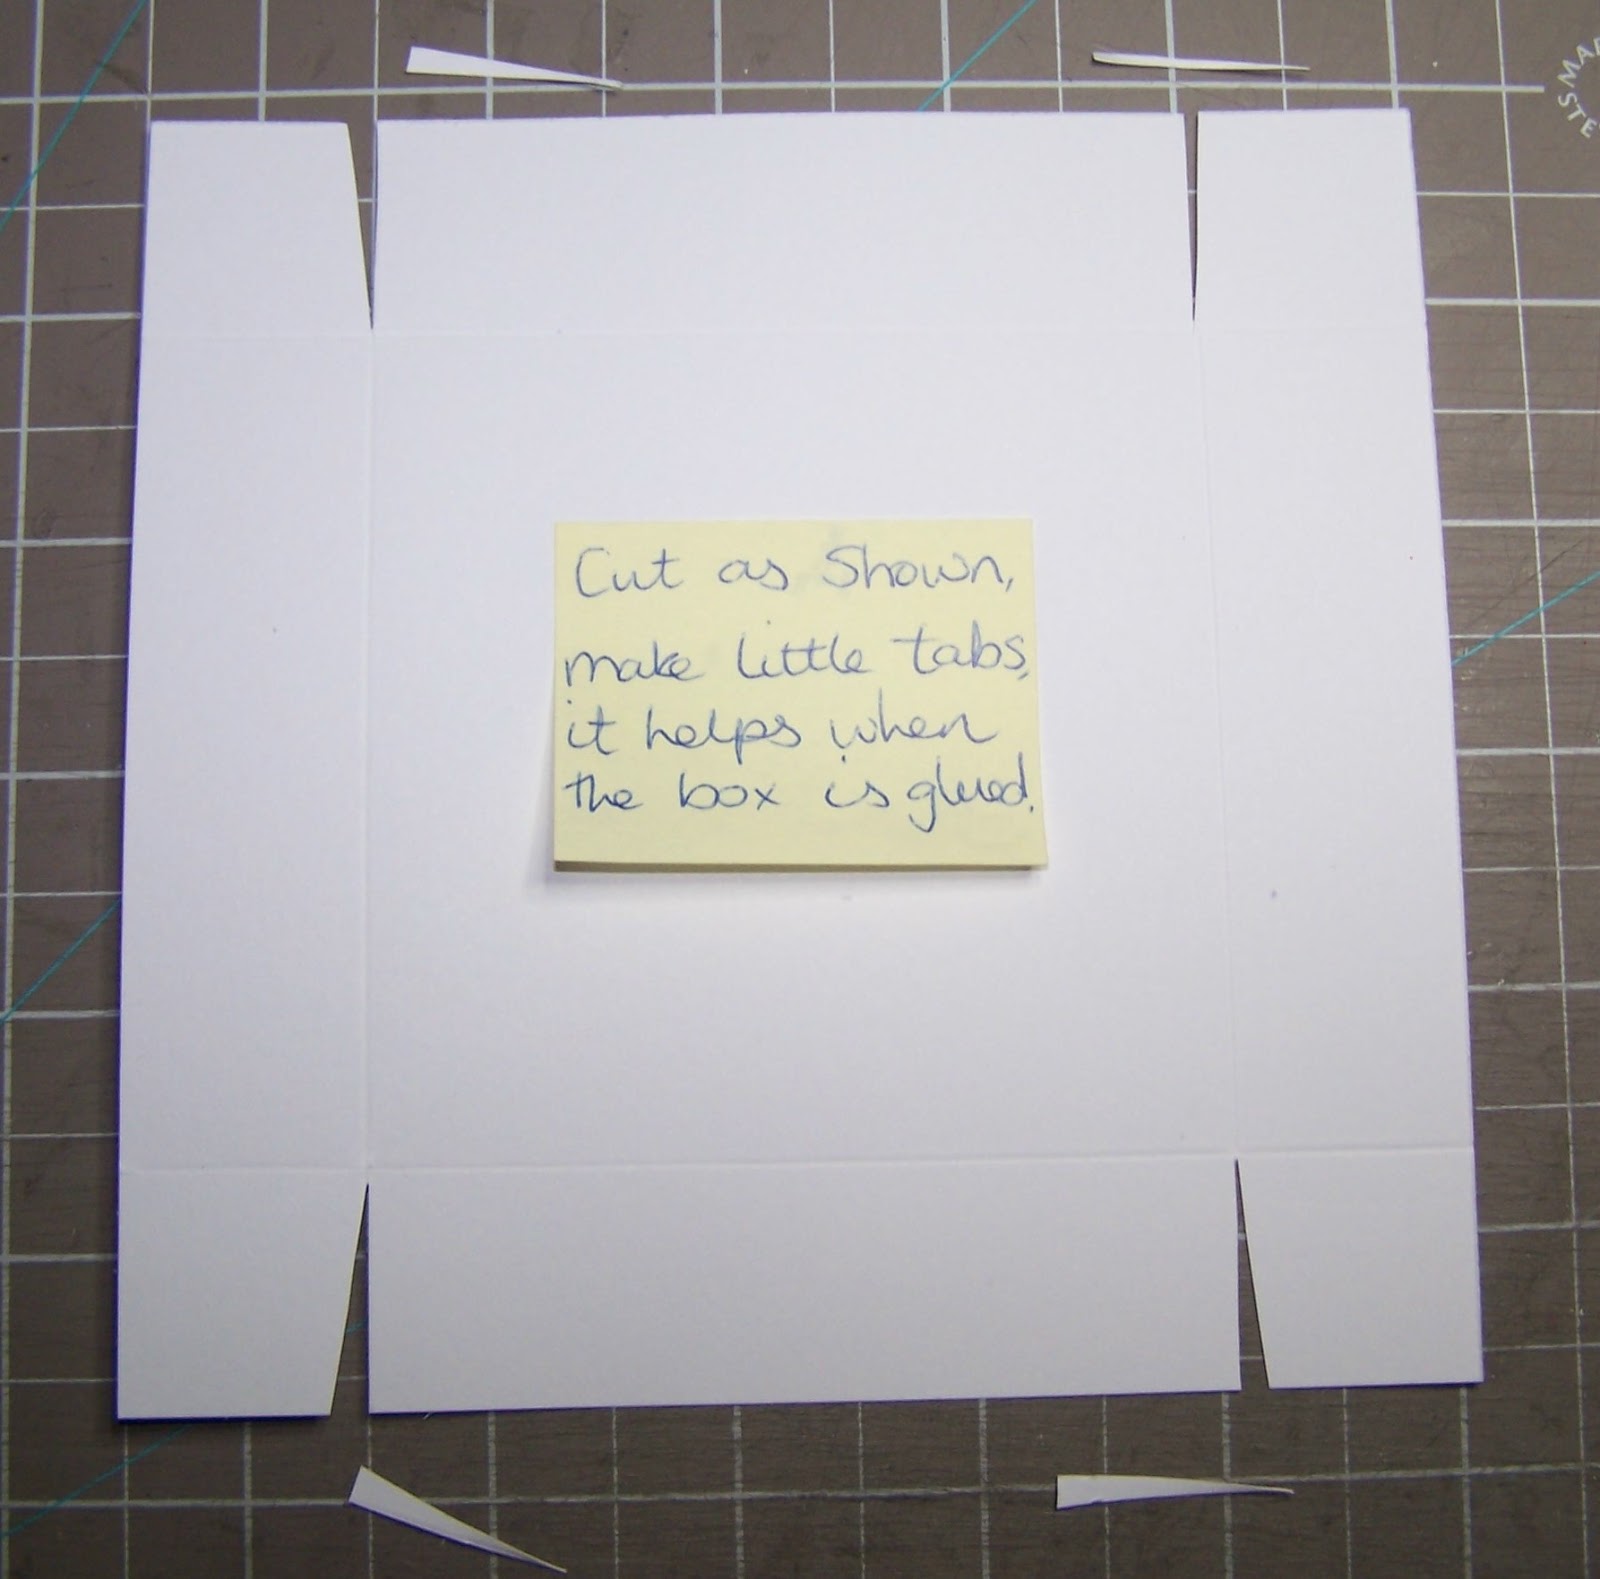
Start with  a square of card measuring 5 7/8" x 5 7/8", score all four side at 1", fold along the score lines then cut as shown on two opposite sides.
Put glue on the underside of the tabs and fold in and the sides up to make a box.
Next take a piece of card measuring 11 7/8" x 3 11/16", score from the left hand edge at 2 1/2", 3 1/2", 7" and 8". This makes the wrap around cover. 
On one short end measure down and mark 1 1/2" from the top, then measure and mark 1" along  both long sides. Join the marks up and cut off the outside bits. 
Now place the box on the cover, do not glue in place yet, the box may fit better one way, so twist it round until you are happy. Next punch two holes one about  1 cm in from the point and  one on the flap, this is where the ribbon is threaded through to keep the box tied up. I measured 1 cm down from the point when the box was closed to get the second hole, you may need to trim a slither off the large flap so it sits together nicely. The box still is not glued to the cover.
 I then took two pieces of ribbon knotted one end on each bit and poked it through the holes.
Next I inked all round the edges of the box and cover then finally attached the box to the cover. I attached the base and two sides of the box to the cover.
Finally I decorated the the flap that folds inside, the pointed flap and the outside edges .
I used a doily punch to make the lace which I then inked. The mini tags are punched from card covered in washi tape then also inked. I found it easiest to attach the strip of ribbon with skinny red tape after I had threaded the tags on it.
As I said at the start, this box will hold five mini cards, as yet I have not decorated my cards but when I have I will share them with you.
I hope this all makes sense.

Wednesday, 6 March 2013

Stationery Box

This is a present I have made for Mother-in-law, the stationery box idea has been around for ages.
When I made this I knew I would have to make it big enough to hold A6 envelopes, the size of the two front pockets was then determined by that .
 The stationery box is made from Kraft card to which I added patterned paper that I inked round.
 The stationery box has three parts to it, one for A6 cards, one for 3"x 3" cards and one for gift tags.
 These are the cards  I made to go in the box below are the matching gift tags.
The square cards are thank you cards with owls on, but I forgot to take a photo of them!!


Sunday, 14 October 2012

Bat time.


After spending the week looking I have at last found my piece of paper with the web address for the original Bat template that gave me the idea for the class.
The instructions and other idea's appear in a magazine called Woman's Day Specials, if you google womanaday.com/special it should come up.
I hope you have as much fun as I did making the bat.
We plan to hang them up on our beam in the living room.

Sunday, 7 October 2012

Halloween Bat

This is the class for Craftbuddies crop on 13th Oct at Tithe Barn, I wanted to do something for Halloween that could be a card or a gift.
The original idea came from a magazine site in Australia, I have written the web address down and put it somewhere very safe so I can credit the original maker, but at the moment somewhere safe is too safe!!!
As soon as I find it I will post the address here.
 
All bats hang upside down!!!
But watch out you don't lose the chocolate bar!!!


Here he is the right way up.


Saturday, 1 September 2012

Bird House

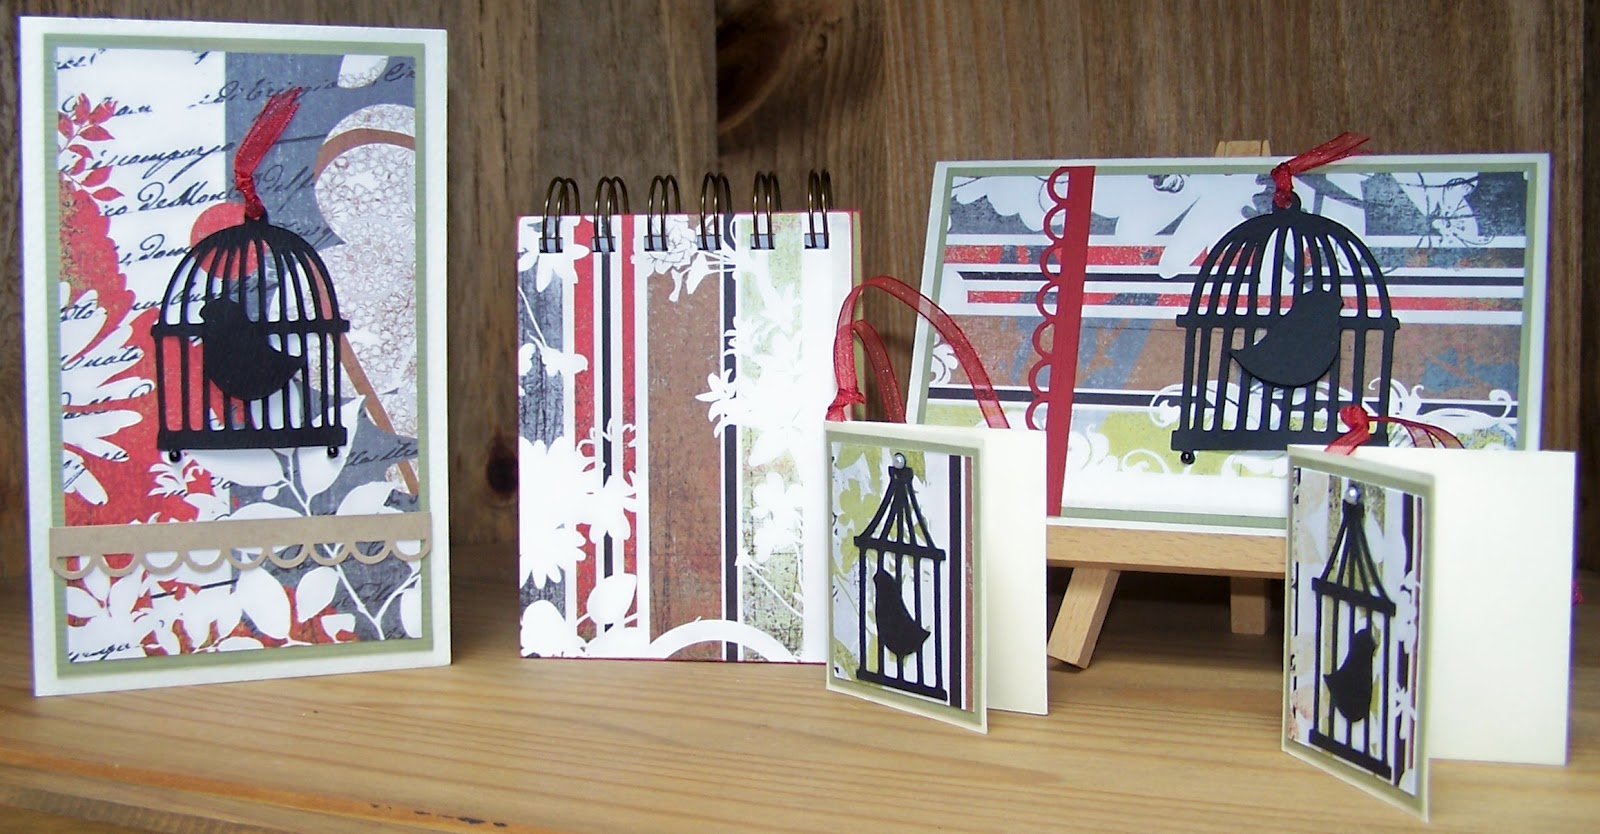
Lots of people have made bird house boxes this is my take on it.
The top is hinged and inside are matching cards, gift tags and  note book. Originally I was going to put in a piece of acetate and fill the box with bird seed for my mum, she is always feeding the bird's in her garden.
 The paper I chose to use is old stock Basic Grey but I chose it because it had a circle on the design which I used for the opening on the front of the bird house. All my measurements to make the bird box had to be drawn around this, fiddly but so worth it.
 I made the pattern up for the bird house as I went along, I think it worked out well.

Tuesday, 17 July 2012

Accordian Folder.


I made this accordion folder for my Mother-in-law for her birthday, it was so easy to make. I got the dimensions from Sylvia (watch this space for Sylvia's blog) The holder has six dividers so I also put six cards in it.
 The papers I used are a mixture of Basic Grey and Stampin up.
 I inked the edges of all the papers on the outside of the folder with distress inks, inside the tab and under the front panel of patterned paper are hidden magnets, I have found Basic Grey ones to be the best, I like the fact that they are hidden it makes the project more professional. 
This folder will easily hold more than six cards. Each divider could be named so one compartment could be for gift tags, one could be for birthday cards and maybe one for thank you cards, the possibilities are endless!!

Wednesday, 27 June 2012

Friend Birthday Card

I made this birthday card for a very good friend of mine. It is a variation of the Father's Day card I made this year.
The stamp set I used is from Stampin Up. I used DI to stamp the flower images. When I stamped the' f ' for friend I inked the stamp up with three colours of ink.
 The foliage is made from a punch I have, the gold on it is one of those happy accidents, I picked up a piece of green card, punched then realised it was a bit I had embossed for somthing else. But it works well.
I decided to add an acetate window to the box part as it looked too heavy for the card, the werther sweets inside the box are just the right colour for the card.

Sunday, 10 June 2012

Fathers Day

I have made these card/boxes for Father's Day this year. They are great for holding a small gift or homemade sweets.
The paper I used is Echo Park with matching cardstock.
At the moment the box part is held together with ribbon, but once I put the gift inside I may use DS tape to hold it all toether.
Dad is cut on the cricut using the Beyond Birthday's cartridge, I then used foam tape to attach it to the card.
 Inside I have put a cherished punch square to add my greeting to.
When I first made these I did not add the three little buttons, but now I have added them I think they help to finish the card part off. 

Saturday, 14 April 2012

Box and Cards.

I just love making mini, dinky cards and boxes, this combines both. I made this for my sister along with some other things, but this is what she liked the most.
The cards are 3"x3" and the box holds four cards and the envelopes.
The box is also called a pizza box, the band around the box slides on and off and holds everything together.
The vintage effect of the paper is stunning and has so many shades of pink in it, I don't really do pink but it looks so good with the bazzill green card, the words are stamped using aged mahogany DI.

Tuesday, 13 March 2012

Mothers Day Box and Card

I have made this card and box for my Mum, so I hope she likes them.
I got the inspiration whilst shopping in Sainsbury's, Lucy and I found some mini cupcake chocolates, I knew as soon as I saw them how I wanted to present them in a box.
I have used the vintage vogue stamp set from Stampin up, bazzill bling card, dotted swiss bazzill, distress inks victorian velvet and antique linen, a Martha Stewart punch, pearl brads and ribbon that I have lots of.
I covered a card base with my cardstock, punched out the foliage then stamped the flowers using the DI's onto white card. When they were dry I cut round them leaving a thin white strip all round, next I scrunched them up to break down the paper fibres.
I layered a small and big flower held together by the pearl brad. On the back of the flower  I glued a small circle then glued the leaves to that. When I put the card together I decided I also wanted to add the leaves from the stamp set, to me they finishes the card off.
 I made the box by working out how high it needed to be to hold the cupcake chocs, I then made the lid to fit over the base. For the inside of the box I made a platform then punched three holes to hold the cupcakes snugly.
 The cupcakes came in a pack of nine, Lucy has said I am only allowed to make one more box as she wants to try the chocolate.

Friday, 9 March 2012

Gift Card

I am hoping my mother-in-law will like this when I give it to her on Mother's Day this year, she loves candles.
 This is a card and gift box all in one, I have made the box part big enough to hold four tea-lights, but it could be made to hold individual chocolates
 The flowers are from A die I bought from http://www.craftbuddiespapercrafts.co.uk/ which I edged with glitter, as well as the leaves. The butterfly is a sizzix die also edged with glitter and gems to form the body.
 I made compartments to keep the tea-lights in place.The ribbon is some velvet ribbon I found in my box, the colours were just right for this project.
I saw these cards whilst looking for something else on google, I have kept the idea in the back of my mind ready for Mother's Day.


Saturday, 2 July 2011

Strawberry Gift Box and Card Class

This is the class for the 'Craft Buddies Crop' on 9th July at Tithe Barn, Horsford.

 If you wish to do the class book a place through 'Craft Buddies', equipment required is; scissors, glue or double sided tape, a bone folder, pencil and black or charcoal ink.

 As I have spent the last two weeks watching Wimbledon I thought this card and mini gift box were appropriate, even though I do not like to eat strawberries I do like to make them. The mini box is large enough to hold a chocolate or a piece jewellery.